Un Wrapping the UV’s
for the Pillars
I am hoping these pillars will be
slightly less of a headache to un wrap compared to the rope *sigh*. As my tutor, Lothar, advised me last term
when tackling UV un wrapping I will be selecting obviously groups of faces on
the model which share the same axis and I can planar map them to that axis.
LETS DO THIS >:)
I started by selecting the faces that
all faced the same axis down the side of the pillar (I did this on both sides).

I then manipulated the UV’s on the
editor so that the checker pattern on the pillar had perfect squares and didn’t
stretch.

I proceeded to doing this for the other
sides of the pillar and ensuring that the UV’s matched on the editor but also
making sure that the checker pattern was as similar as I could achieve.

The same process was taken when I
mapped the smaller “ledge” parts (that I bevelled during modeling). I did all the faces that faced upwards first
then did the same with the ones that aced down.
Now to tackle modeling the most organic
part of the model, the cracked area at the top. I began by trying a simple face
select and axis projection on the sides at the top, this worked fine so that’s
nice :P I took this screen cap before I manipulated the uv map, I made sure the
checker pattern was more square than it appears here so that it marched the
rest of the pillar.

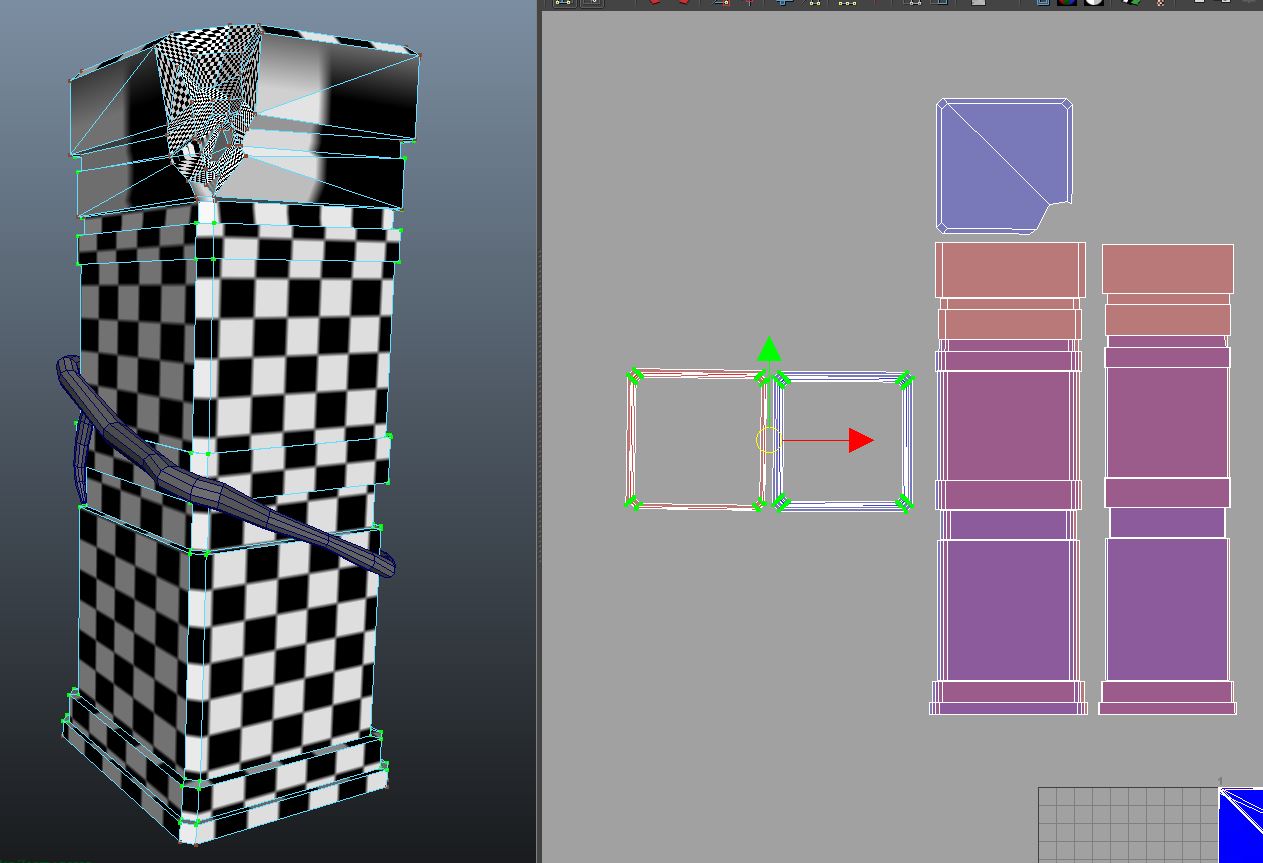
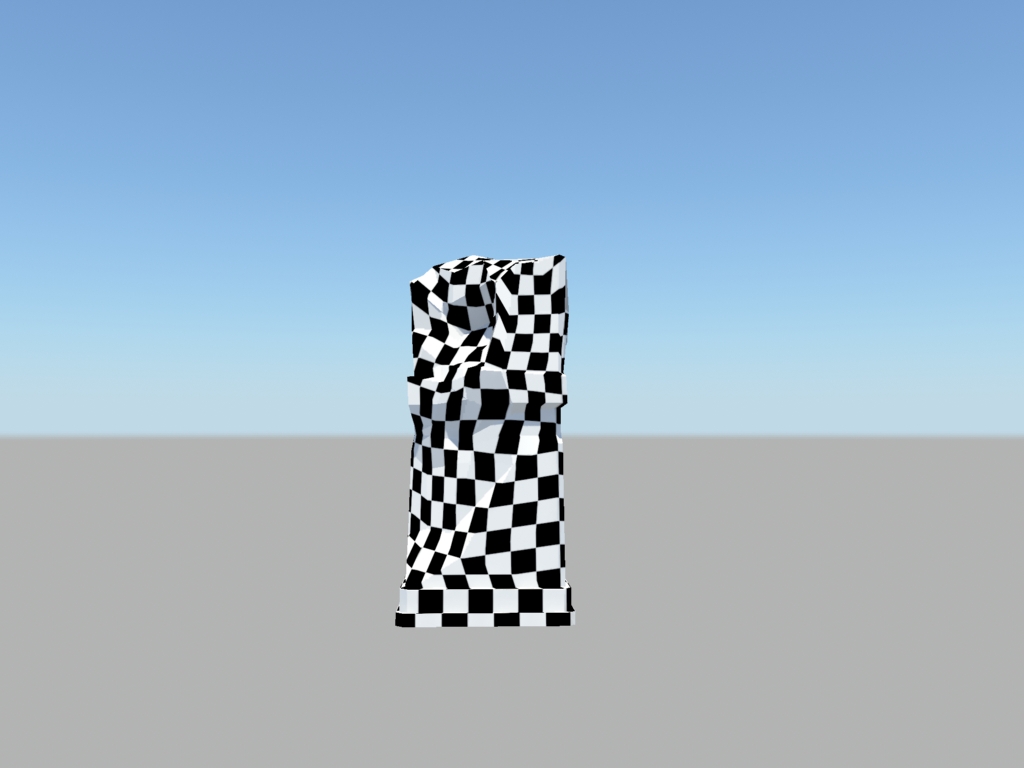
In order to map the crumbled part of
the pillar I used a planar map projection from my camera perspective. Here is a
before and after shot of the checker pattern. The first is before I had mapped
it at all, and as you can see it is all over the place. The second is once I
had mapped it using my camera perspective where all I had to do was point my
camera towards the crumbled area and hope for a good projection; which I got :)


All I had to do then was manipulate the
UV’s in the editor to ensure that the checker pattern matched up to the rest of
the pillar and didn’t cause any stretch.

Overall I think the UV’s have come out
nicely, I think the texture will sit well using them. The only thing I am
slightly worried about is the top section with the crumbled area. I tried 2
different methods of UV’s, one where I sewed the edges from the top of the
pillar to the cracked area and one where I didn’t. I will have to run these
past a tutor before I begin texturing just to see what works best or if I need
to re work any of them. Over all I am happy with the way I have laid them out!


Un Wrapping the UV’s
for the Vine
I suspected that the vines would need
similar treatment to in terms of UV unwrapping to the rope on the bridge.
However, I thought it might be less hassle considering I didn’t use a CV curve
to create them, nor are they high poly. I was pretty wrong. For some reason the
cylindrical mapping wouldn’t work, I can only presume because the shapes are
organic and not simply cylinders. However, the unfold and relax UV tool didn’t
seem to help (at first) either so I had to manually select small groups of
similar faces (i.e. the ones that looked most cylindrical) and map those. Then,
once that was done, id have to go into the UV editor and sew the edges together
to ensure I didn’t have lots of nasty seams.
I still need to show my tutor the vines
and ropes to see if I *can* actually separate the Uvs to get more detail and
still avoid seams, I have left them all together for now.


As you can see, in every capture I have
a new small selection of faces selected and cylindrical map them as I go along.
On the right of each screen is the UV editor and you can see how the UV’s
*should* appear, but sometimes they didn’t, it was incredibly frustrating.
Eventually I got all of the vine
cylindrically mapped and got all the UV’s laid out together in the editor.

From here I had to manually select
edges in the editor, ensure they matched and then sew the edges together to
make sure that the checker pattern flowed properly along the vine. I would
often find id have to cut faces and re sew them on different sides. Whilst this
is probably an unconventional workflow for UV’s I find that I am learning A LOT
and really getting used to using the basic tools so it’s not all bad!! ;)
Here is the vine once I had played
around with the UV’s in the editor having sewn them together. I am happy with
them for now, but I think they (like the ropes) will need a bit of tweaking
when I get to texture them!

Un Wrapping the UV’s
on the 2nd Pillar
To un wrap the second pillar I followed
the exact same process as I did for the first pillar, selecting faces that
follow the same axis and planar mapping them. I had to be more careful when
selecting the aces this time however because so much of the pillar is cracked
and broken that a lot of faces could be depicted on similar axis’ so I was
quite particular what faces I chose for which planar projection.


Then I repeated the process for the
opposite faces.


Once I had planar mapped all the main
faces I could manually alter the UV’s in the editor so that the checker pattern
was equal and not showing any stretch.

After that it was just a case of sewing
up the main parts to ensure a neat seamless checker pattern around the entire
pillar wherever possible.

Using the planar projection through
perspective I was able to select the cracked/crumbled faces and un wrap them to
the best of my ability.

I then used a mixture of manual
manipulation alongside the relax and unfold tool to attach the section onto the
rest of the un wrapped net. There are
still areas that aren’t quite perfect and there is also a seam at the top which
I might have to alter when I texture but for now I am happy :D

After writing this I went back to
looking at the UV’s and there are still areas that definitely need work but
right now I am very tired and I need to call it a night on this particular
section. So, here they are, not perfect but getting there :)

No comments:
Post a Comment