Finalised (hopefully) UV’s and Baking
(but sadly not the type of baking where you get tasty muffins and cakes at the
end…)
Today I spent all day at university ensuring my UV’s
were in an acceptable form to start putting my textures onto them. I am
actually really happy with the way they have turned out, considering I have
spent all weekend organising them. Every time I go back to them I keep noticing
parts I could change and alter but I am finally at a stage where I am happy
with them, enough so to start texturing them.
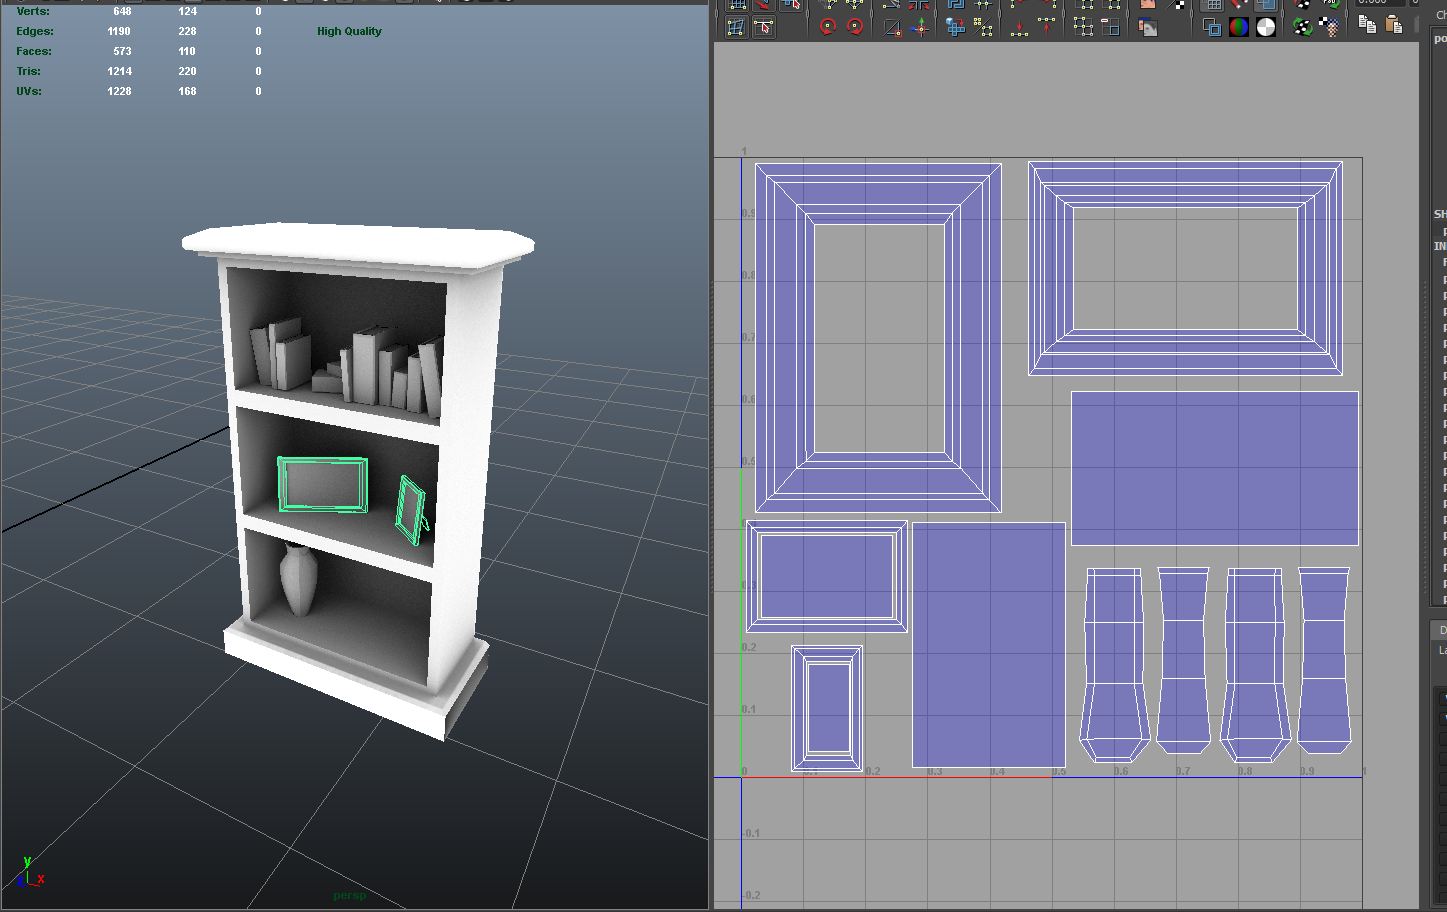
I have kept the bookcase as its own UV map, combined the
2 frames together on another, the books also have their own map as I have
simply repeated them and finally the vase has its own UV map which I will
probably make bigger as I have enough space.


Once all the UV’s were organised I was able to move onto
producing a baked ambient occlusion for the bookcase to really emphasise the
shadow details given off by the vase, photo-frames and books (yes I am aware
that in the screen caps above there is already an ambient occlusion baked on, I
was working backwards with regards to getting screen caps haha).
How to Bake Ambient Occlusion
First of all you want to open the hypershade window with
your model highlighted. Go over to the Maya render options and select SURFACE
SHADER. This will then appear in the work space of the hypershade window. Then you’ll need to select
the object(s) that you want to bake the ambient occlusion onto. You need to
middle mouse click and drag the SURFACESHADER onto your model. Your model will
now appear black, in my case it was the bookcase that I wanted to bake onto which
is why it is black.

The next step was to find TEXTURES under MENTAL RAY and
click the mib_amb_occlusion. This will now
appear as a white box under your SURFACE SHADER. Middle mouse click drag this
onto the SURFACE SHADER and select default.

Now that the hypershade window is set up to bake ambient
occlusion we need to change the drop down
menu on the shelf at the top of Maya’s interface to RENDER and
select the LIGHTING/SHADING > BATCH
BAKE (mental ray). This will bring up the batch render window where you need to
change the settings accordingly, under camera settings check the box for “USE
BAKE SET OVERIDE”, change the drop down menu to “OCCLUSION” and ensure the map
is a big size ratio (1024 in my case).

After a few tweaks of the UV’s and menu settings I
finally got an ambient occlusion baked that I was happy with.

After this process I was able to take a UV snapshot of
the UV’s I organised for the bookcase by going into the UV/Texture editor >
polygons > UV Snapshot. I then located this file in PhotoShop and loaded it up. I
then loaded up the ambient occlusion map onto the same file as the UV snapshot.
I made the UV snapshot layer a SCREEN layer and the ambient occlusion map a
MULTIPLY layer which was placed underneath the UV Snapshot. I then created a third
layer which was placed directly under the other 2 layers and coloured it grey.

Now I just need to get over my irrational fear of texturing >:D
No comments:
Post a Comment