Adding Normal Maps and
Lighting
Today was the final full day prior to
submission and I spent it in the media lab adding the normal maps to my model.
These turned out really well and gave my model the final level of detail it
needed. Here are the normals for each of the models, some of them include
render shots to show the development and choices I had to make when decided how
to set the final normal.
First of all, here are the normal maps
for the rope sections of the bridge.
Here are the normals for the small and
large rocks with renders.
Here are a set of renders for the large
rocks where I used 3 different varieties of normal maps with different
intensities.
My friend Jack and I both agreed I
would benefit from testing out a specular map on the rocks to add a slight
shine to their surface (As some large rocks do have shinier areas). To do this
I had to swap the lambert shader to a blinn, I then used Crazybump to build me
a specular map.
Here is the render of the other rocks.
Now to move onto the normal maps for
the stone temple pillars.
Here is a before and after shot with 2 separate normal
maps to demonstrate the development.
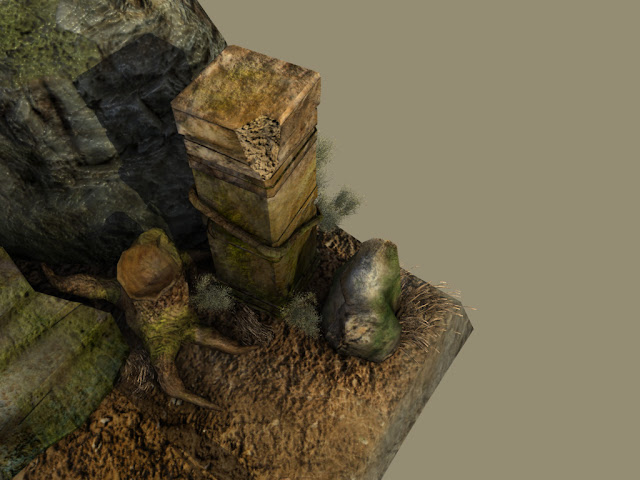
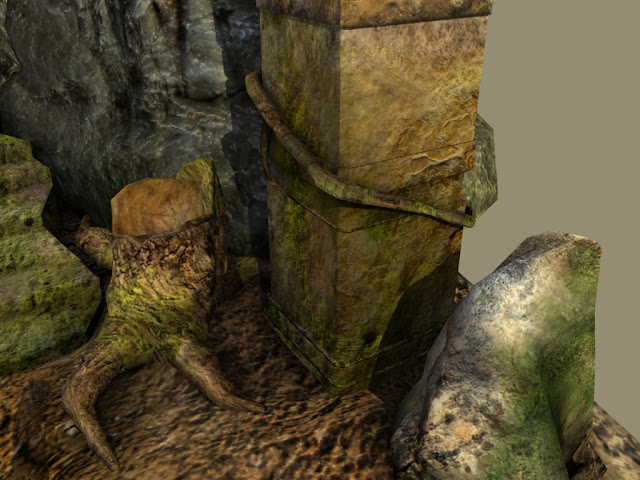
I was particularly proud of my texture
making and normal mapping when I saw the outcome on the side of this pillar,
the definition the normal created from my texture is superb :D it really makes it look 3D and “rocky”.
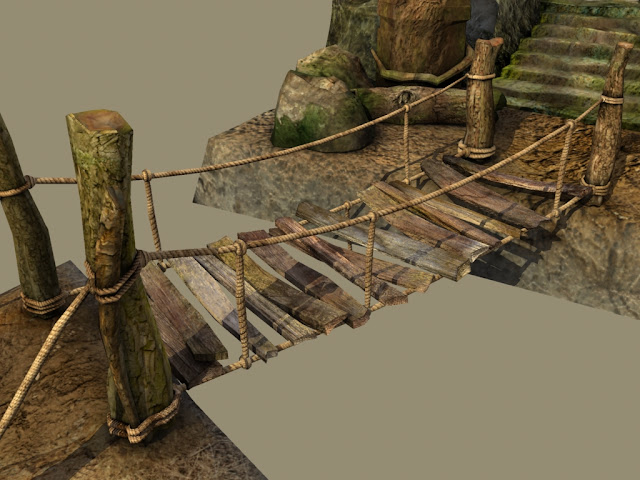
Here is the normal map and render of
the wooden planks on the bridge. I have included renders that used various
normal maps during the development process.
Here are the normal maps I used on the
floor. I wanted to really make sure I enhanced the gritty natural earthy floor
texture I had created so I used very intense normal maps and also increased the
“bump” in Maya.
Here is the large floor with the
original normal map I use but It wasn’t intense enough so I whacked up the
sliders to emphasise the depth and also manually increased the bump in Maya.
Here is the normal map for the stairs.
Again, like most assets in my environment, I had to test multiple normal maps
before I achieved the look I wanted.
I then moved onto the tree stump. I
actually decided in the end that this looked better without a normal map.
Either way here is the normal map and render that make me come to this
conclusion.
I then moved onto the Vines that wrap
around the pillars.
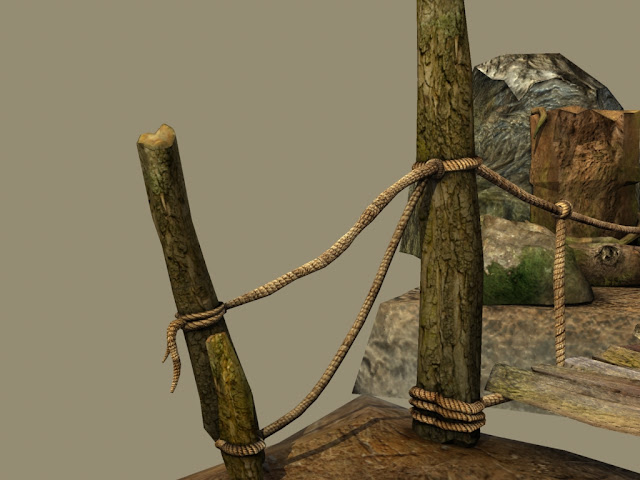
After this I moved onto the wood
support posts that hold the bridge in location. These came out really well, I
didn’t want them to be too overly bumpy and textured because in my previous
project, BA4, I had feedback from Lothar who said the wood on my bookcase was too intense due to the over
compensation from the normal map. Bearing that in mind, here are the results
for the normal maps I liked as well as renders.
The Light Set Up
One of the reasons my renders were
appearing very flat was partially due to the lack of normal maps but also
because I didn’t have a proper light set up in my scene. Lothar recommended a 3
light set up and my friend Jack advised me on the best way to set up the
lights. Here is the layout he showed me.
There is a large spot light that
illuminates the scene on the far left. This gives off the most light upon the
scene and appears as if it is sunlight which adds a nice ambiance to my
environment. After playing around with the light Jack set up, I was able to
edit and changed settings until I was happy. These are the settings I finished
with.
The other two smaller lights are point
lights which are used to cast shadow. Again, I edited the set up that Jack gave
me so that I knew I understood what was going on. Here are the settings for
those lights.
Adding Paint Effects
I learnt in a previous project I did
that Maya has a mini asset library which can be applied to your scene via
paint. Technically these are paint effects but they can be converted to
polygons and rendered out to polish off a scene. In my case, I wanted to add
some natural vegetation to finish off the scene. I used the general editor visor to locate
various grass and bush paint effects that I thought would be appropriate for my
environment. I found “jungle grass” and “dry grass” which were perfect as well
as a taller thin bush.


