Asset #4 - Vines
I have had the idea of wrapping vine
around one of my assets since I began the project; as usual though it was just
a case of finding somewhere to fit it in. Luckily I settled on an idea, this
was to wrap vines around the broken pillars to emphasise their abandonment in
the environment and that nature is taking over. As always I have found some
visual references for wrapped vines in real life (and some can even be seen in
previous reference images I have posted) so that I can have a better
understanding on how these vines should appear aesthetically.


Applying Vines to my
Pillars
I moved onto trying to wrap vines
around my pillars and thinking of all the possible ways I could achieve the
desired look. I started the same way I made the rope which was by using the CV
curve tool to literally draw out the curve of the wrapped vine. As you can see,
I went into the top perspective and drew out the control verts for the vine
wrap in a spiral.

I then used the side view port and
perspective view in order to manually pull the control vets down so that the
spiral for the wrapped vine would progress downwards.

I think used the main perspective view
to further manipulate the verts. My thought train was that I needed to get the
spiral to flow downwards but still maintain its circular motion in order to be
placed around the pillar is if being wrapped. Either way, I then created a
polygonal cylinder and placed it just above the top of the CV curve/vine spiral
I had just manipulated.

I then selected the faces of the
cylinder that faced the spiral, held shift and selected the curve second. I
then extruded the faces along the curve and bumped up the sub divisions so that
they actually followed the curve.

Whilst it all went to plan and I got a
spiral curve, it just wasn’t the kind of look I was going for. Sure, I could
have further manipulated the verts but this isn't a very quick method of
working when I could just use the cylinder and extrude the faces around the
pillar. Why didn’t I do that first then, I hear you ask. Well, I thought it
might look a little rigid and I thought I would do a tried and tested method
for creating a smooth curve first as this is the method I used for the ropes on
the bridge too and they worked.
It was upon thinking about how similar
the workflow was to the rope that I realised that this vine wrap has a lot
curved faces, something took me AGES to un wrap (uv wise) for the rope.
I do not have the time to do that again for these vines.
I then decided to have a crack at
modeling the vines using the polygonal cylinder but extruding the faces to wrap
manually around the pillar instead.


As you can see the vine gradually wraps
around the pillar as I extrude the faces and manipulate the verts to give it a
more organic shape. Not only this but the number of ploys is reduced because
its not a deadly smooth curve; which I actually think works A LOT better.
I then started to do a small extra vine
sticking out of the one I first created just to make it more organic and
believable.


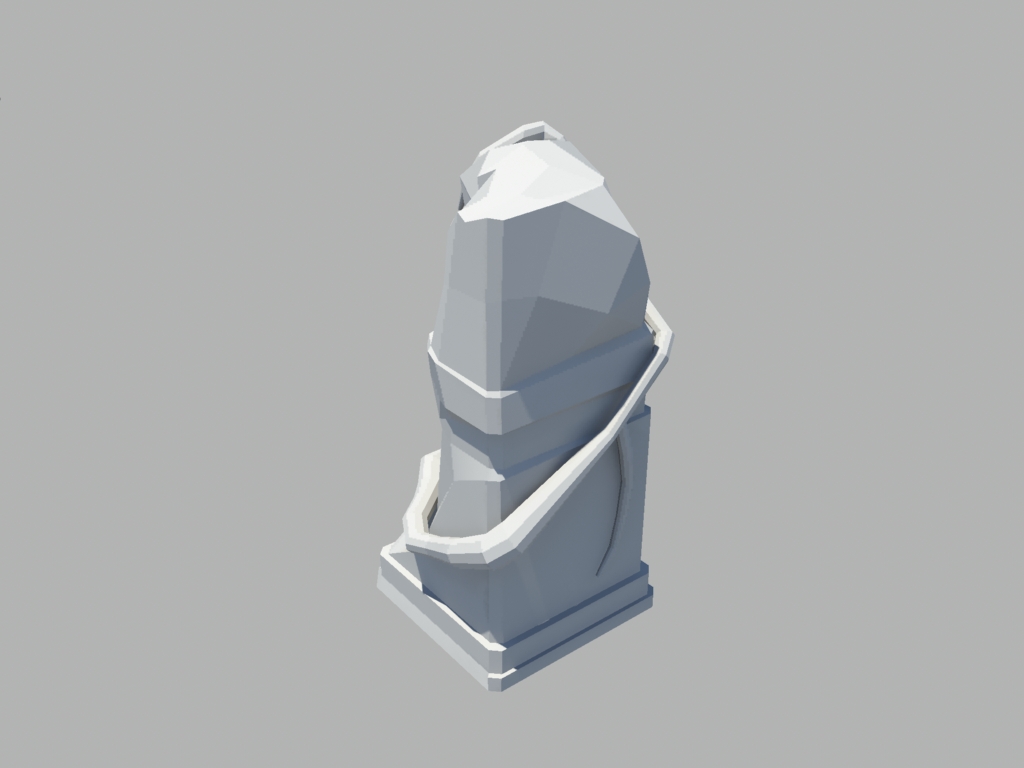
Asset #4 (Vine #1)
Render

Asset #4 (Vine #2)
Renders
I moved onto designing a vine to wrap
around the smaller pillar too but obviously focussed on trying to not make them
look exactly the same. I’m happy with the outcome of this vine too :D I
followed the exact same modeling method as I did for the previous vine
(cylinder > extrude face > rotate verts > rinse and repeat).


No comments:
Post a Comment