Unwrapping the UV’s on
the Stairs
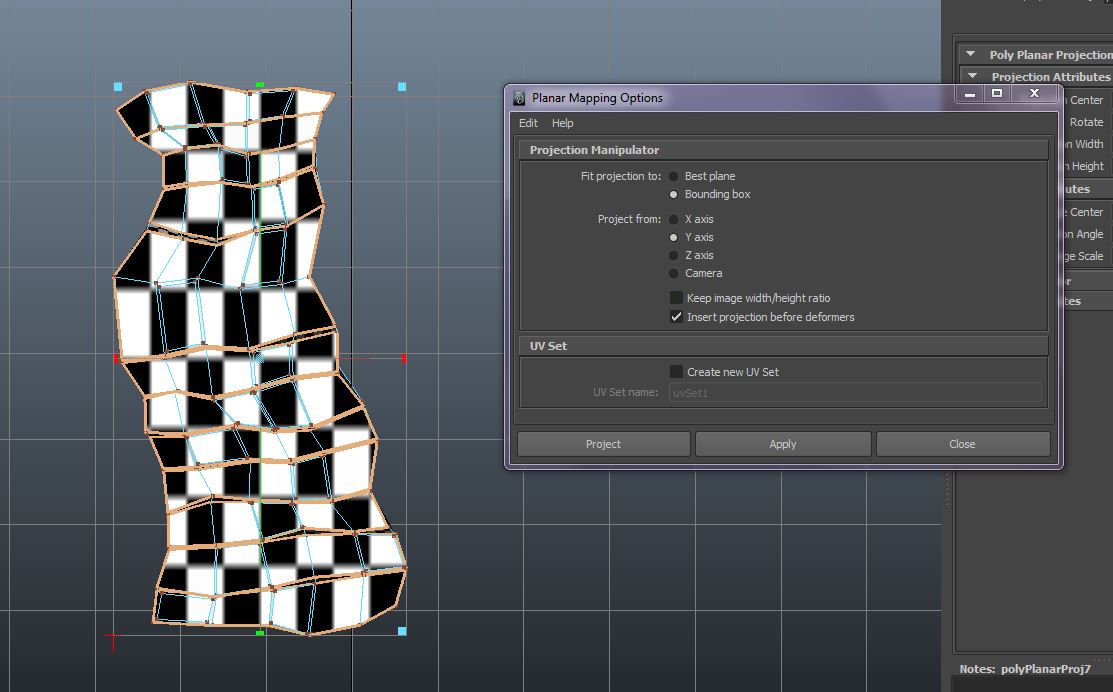
Using the same process as always,
finding the faces which all face the same axis and projecting onto them once
selected. The sides were straight
forward enough to UV as you can see. However I had to project the front faces
of the stairs separately. I thought I might be able to map them from the top
but it wont work.

Once I had this, I flipped the
incorrect facing UV and resized them so that they were the same in terms of
size and proportion to the sides.

Next job was to unwrap from the top so
that I could project onto the steps from above.

Because I mapped the tops of the steps
and the front face sides separately, I wanted to go back through and sew them
together to make 1 net so that when I texture the stairs, they don’t appear
disjointed or with majorly ugly seams. Here is what it looked like with the
newly selected faces placed together in their rightful positions on the UV map.

And here is how the UV’s and checker
pattern appeared once I had sewn the new edges together.

I could have kept going with the UV
sewing continuing the pattern for the other side of the stairs so I was left
with one long net. However, as the other stairs are the back of the environment
and technically in a different area, I thought I might as well keep them as a
separate net on my UV grid to make the most productive use of the space and
keep the quality high.

And finally, because I am really proud
of them, here are the UV’s in their final state. Obviously massive right now to
demonstrate how neat the checker pattern is! Genuinely happy with them.

No comments:
Post a Comment